At the end of 2010 I felt some itching in my fingers. It was already some time ago that I had built some boxes. You have to know: For me the experience to actually “manufacture” someting is a great deal in the overall effort. Just DIY!
By chance I found a sale on the Tangband’s W8-740P. I ended up buying four of them (you never know…). Later I realized, that there is a commercial product which uses just two of them in a home cinema type TH. More over, enough detailed information of this design was available on the web. All this qualified it for me to be a nice DIY project for the next weeks and months.
On the design I liked the concept of two drivers mounted in opposite directions wired out of phase. This can help to cancel out speaker suspension system non-linearities. Last but not least I was curious to see what a design of the “inventor” Tom Danley – or at least a close clone – is all about.
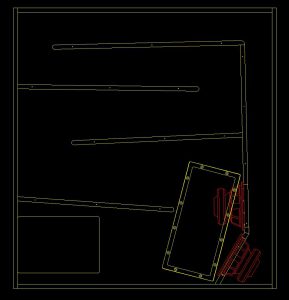
Following you will be able to see how I actually built these TH’s:
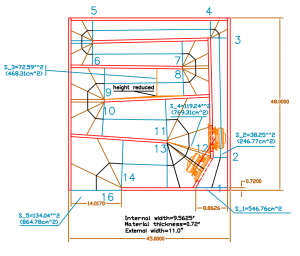
When I built these TH’s I did not care about a simulation. Much later (in 2016) I got Hornresp input data for these TH’s from DIY forums member Oliver (TB46). He created a very nice sketch where the Hornresp relevant dimensions are shown.
This is a detail of it:
The complete PDF is here.
These are the input parameters for Hornresp from that sketch:
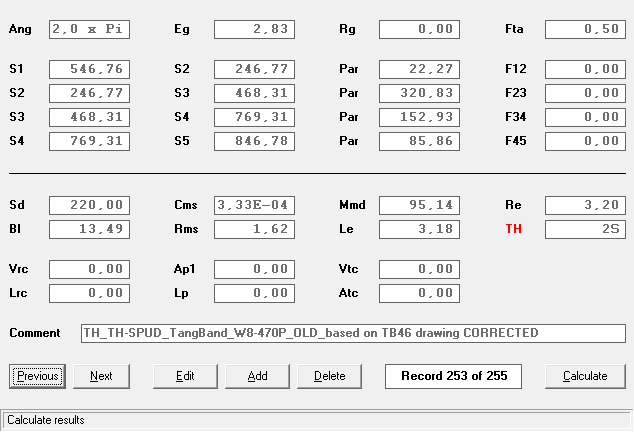
At the same time I found that Tangband changed driver’s TSP parameters in their spec sheet sheet. over time. This data sheet is from 2010 and this is from 2016. The input data above is based on the old data sheet. Comparing the parameters in the simulation of new vs. old TSP shows little differences only (black = Tangband data from 2016 / grey = Tangband data from 2010):
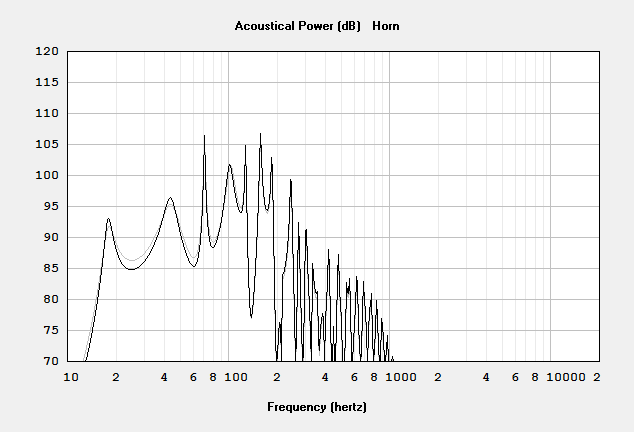
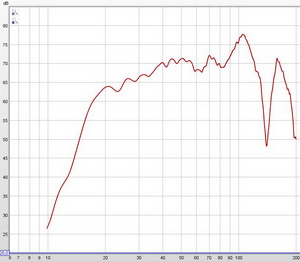
You might say: What a peaky response! But check the actual measurement of these horns (below) to see what some lining on the walls in the throat / mouth section can do.
In addition I found this PDF from 2010, created by Mark Kravchenko. It contains TSP’s based on actual measurements of a W8-740P. When comparing the results of the Hornresp simulation with these TPS to the factory specs from 2010, there is almost no difference visible, although the parameters are different (black = data by Mark Kravchenko / grey = data by TB from 2010):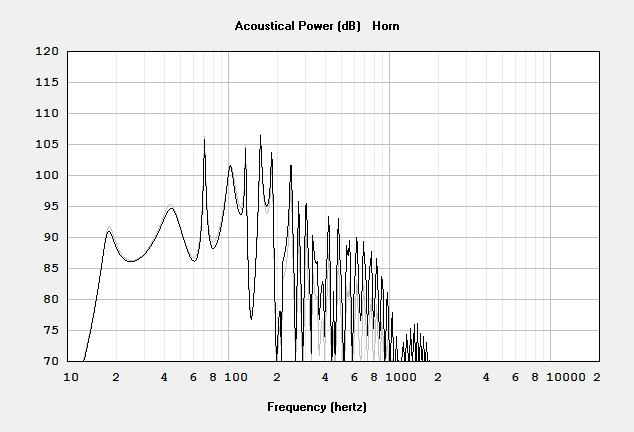
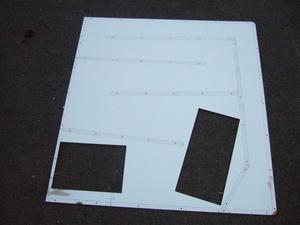
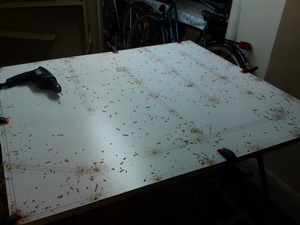
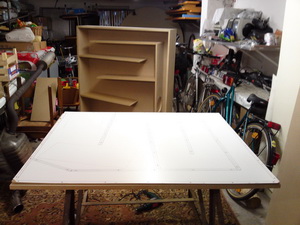
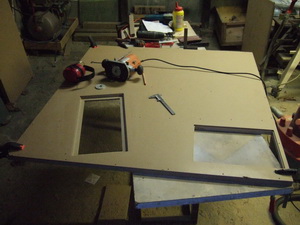
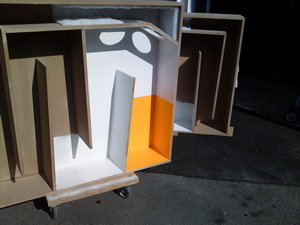
After the plans were finished, I made some thoughts on how to make the built somehow efficient. I decided to prepare a template to transport the design to the sidewalls. Later this template was also used to drill holes for the screws into the sidewalls as well as for milling the openings for the access panel and the mouth opening with a router.
With the holes drilled for the screws it is quick and easy to position the pieces on the sidewalls.
Fist one
one more picture of it…
With the aid of the template you can drill both sidewalls. You just have to flip it over.
I also added the openings for both access panel and mouth into the templates. Here the template is visible from the bottom side (one side is white, the other is brown).
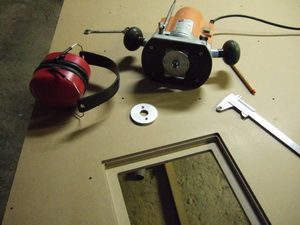
With the help of the ring for the router I was able to make the stepped opening for the access panel with my template.
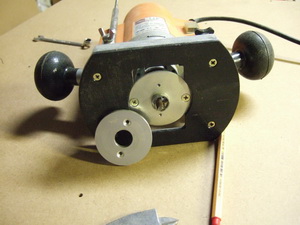
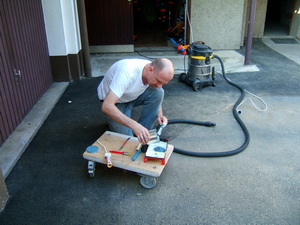
one more pic of the router details… (I have to get a better router btw. This cheap Chinese thing consumed most of my time for setting it up correctly.)
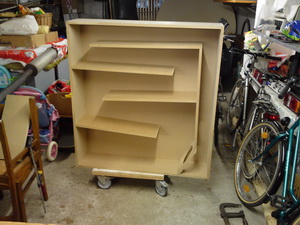
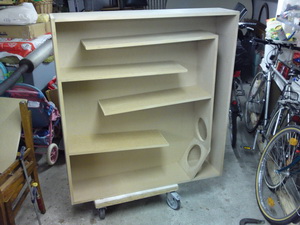
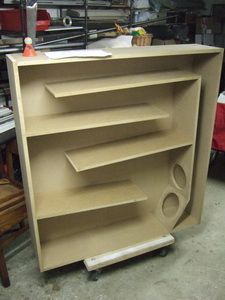
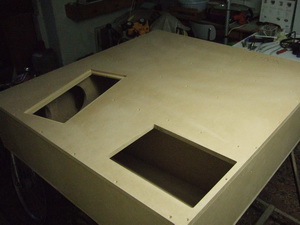
One more pic of the open TH.
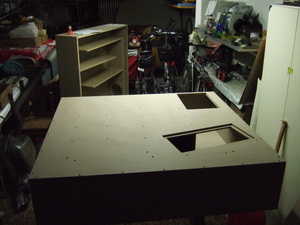
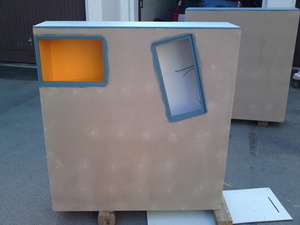
The sidewall with the access and mouth opening put in place (not yet glued)
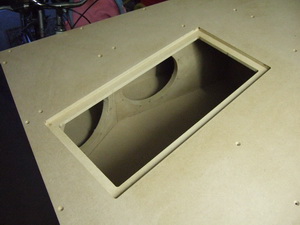
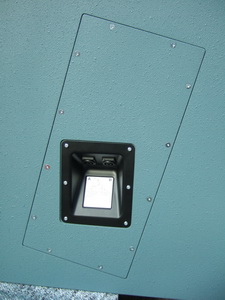
Detail of the access opening:
And one more picture…
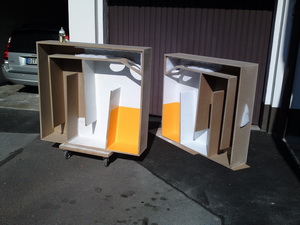
Painting the inside: You can regard it as a waste of time, but I wanted it like that 
And another picture.
Some final sanding before applying the the first layer of paint with a roll.
Both TH’s closed and ready for the fist layer of paint (rolled on).
And another picture.
And another picture.
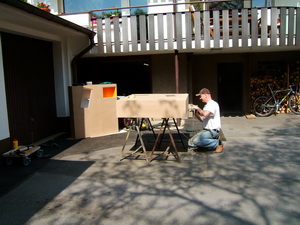
This guy is me preparing the paint for the first layer to be rolled on.
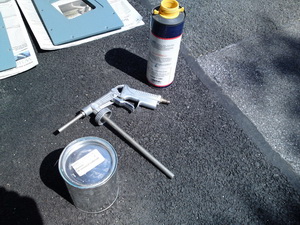
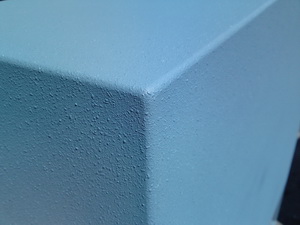
I decided to use Warnex to coat the TH’s. Warnex is a professional loudspeaker enclosure coating. It is water based and can therefore very easy be handled. Warnex can be applied with a simple automotive under body coating gun. The paint is actually like pudding and must not be thinned in order to achieve the surface structure. I mixed white and grey RAL7016 in a ratio 1:2.
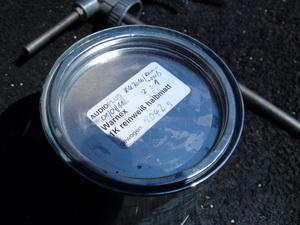
Detail of the can and the mixing ratio I used.
I needed approx 2Kg to paint both TH’s.
Here you can see the surface structure.
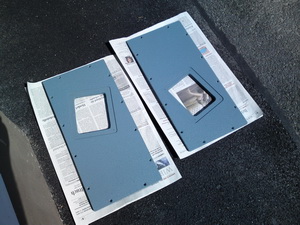
Access panels:
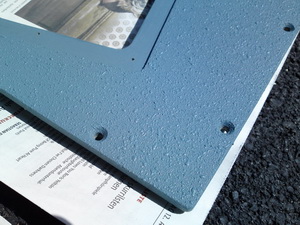
Detail of the access panels:
Another detail of the surface structure. After only a day the paint is entirely dry.
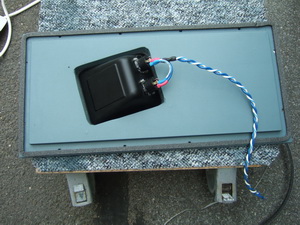
Backside of the connection panel. I used two speakons out of phase. So you can easily alter the polarity if required and you can also run both TH’s in parallel on a single channel of your amp. I will run them as stereo subs on my Yamaha P2500S amp.
Access panel in place.
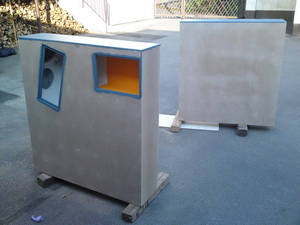
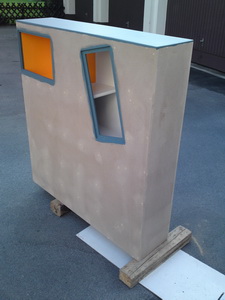
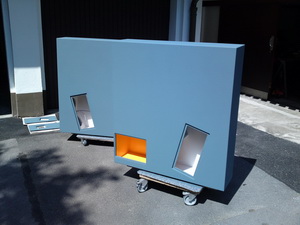
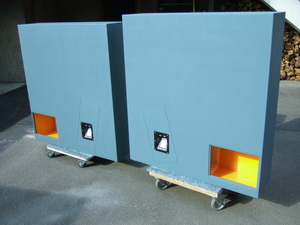
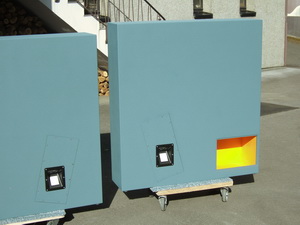
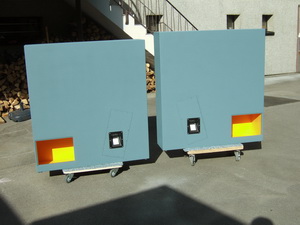
Both TH’s almost ready. Only the grills of the mouth are missing.
And another picture.
And another picture.
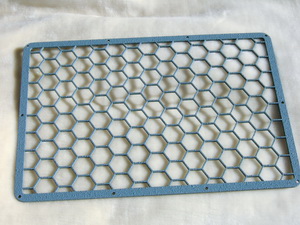
Here are the grills: Laser cut from stainless steel and painted with Warnex.
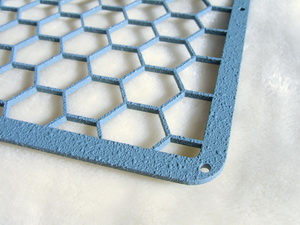
Detail of a grill with Warnex structure.
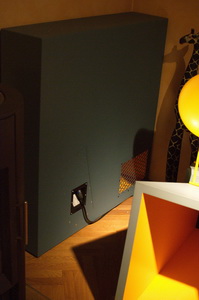
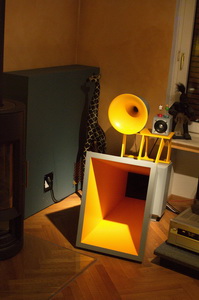
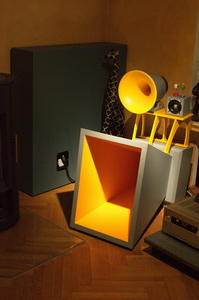
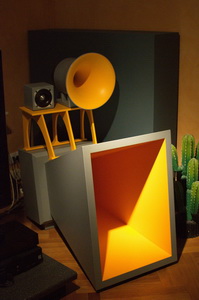
Finally in my room: Left channel.
Here you can see the grill installed.
And another picture.
Last but not least the right channel.
This is how they measured in my garden. Both of them running in parallel, standing next to each other. Mouths facing towards the microphone. Buildings were more than 10m away. Microphone was on ground level on a concrete plate approximately 8m away. Measurement was taken at uncalibrated level and with some “serious” SPL, not only 1 watt”.
The sound of these TH’s is relaxed and effortless down to the lowest registers with in my eyes insane headroom.
Please note: I built these TH’s based on information one can find on the web. In addition I made changes and modifications to the design so it fits my personal taste. These TH’s are neither copy’s nor aren’t they meant to be copy’s of the original product. Finally I will not make any plans available.

